
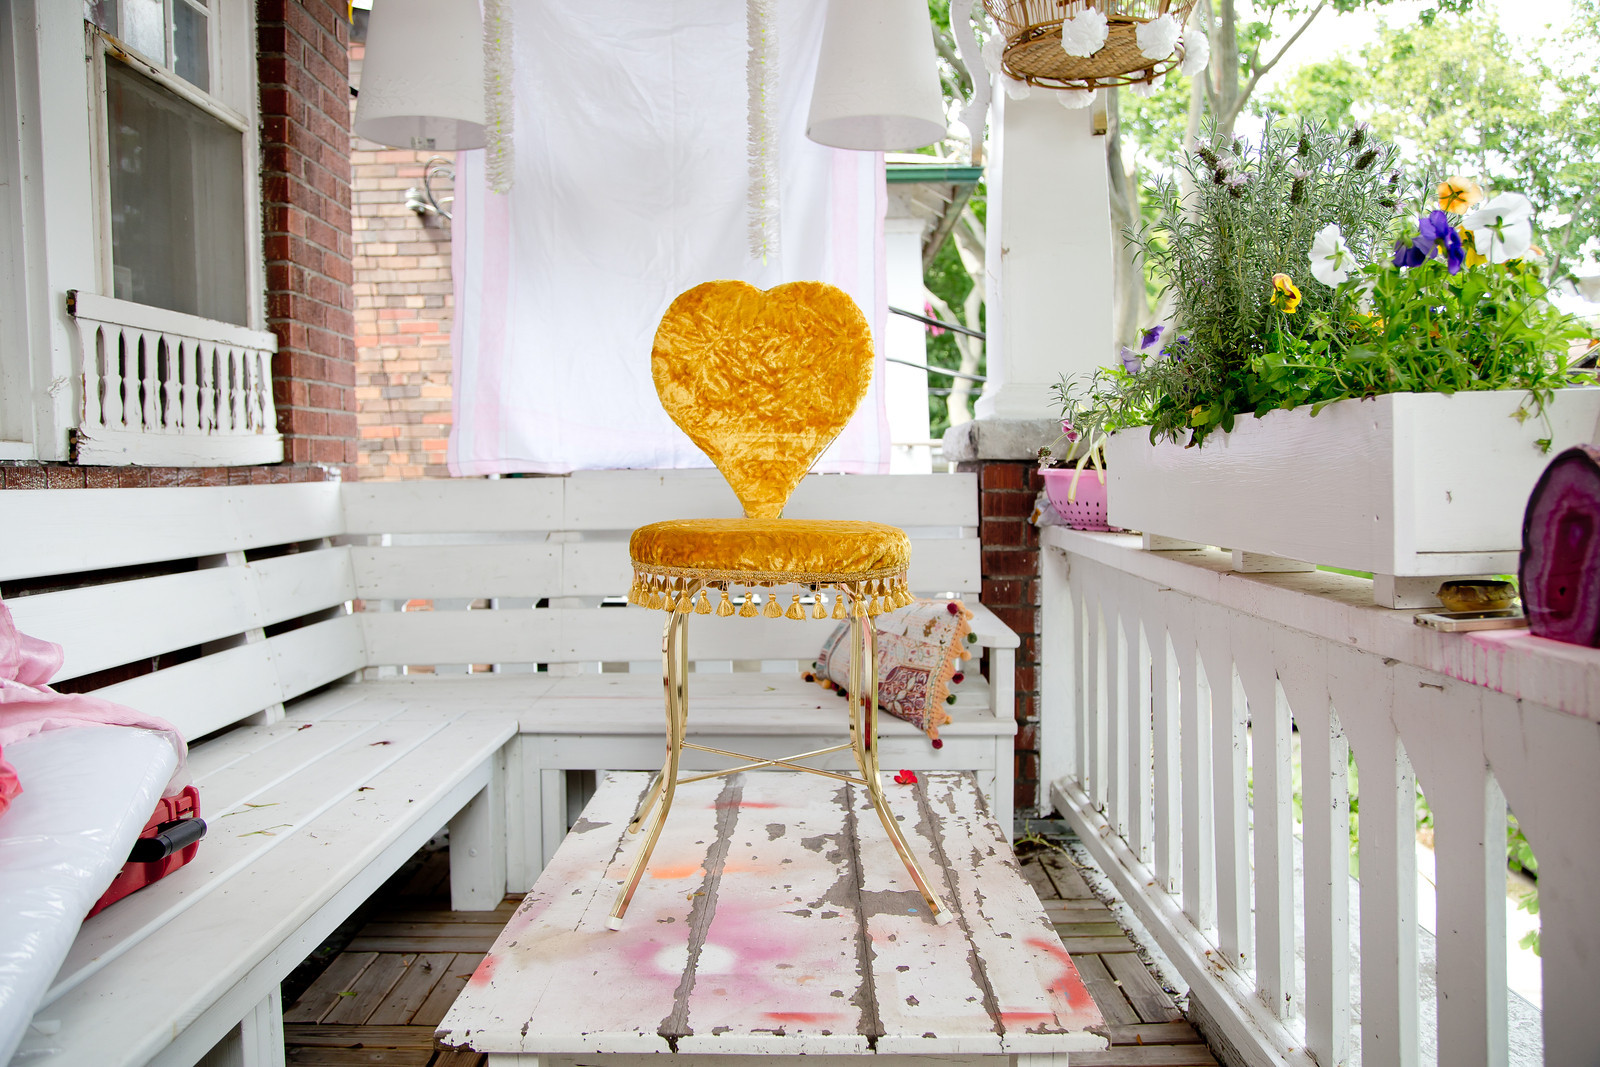
Summer is the perfect time to evaluate your space and do a bit of sprucing up. Reupholstering a flea market–or let’s face it, even a side-of-the-road–find is a great way to do just that. We couldn’t think of a better person to walk us through this task than designer, stylist and Buy It, Sell It, Fix It star, Tiffany Pratt! Check out her steps and beautiful photos below and let us know if you try the DIY out for yourself!
The first thing I say to my fellow makers and people that want to attempt a DIY is: you do not have to be “good” at anything to do it. I am living proof; I try a lot of projects just by winging it to get the job done. I have learned a lot along the way that I would love to share. Today—I will share some quick & dirty tricks to reupholster a chair in case you fall in love with a gem on the side of the street and want to make it yours. It happens all the time.
THINGS YOU WILL NEED:
HOT GLUE
COTTON BATTEN
SCISSORS
FABRIC
TRIM
STAPLE GUN
STAPLES
BRISTOL BOARD
SCREW DRIVER
MUSIC
Phase #1-
Assess the situation
If you see something at a market or on the side of the street, the first thing you need to do is check out the condition of the found goods. Is the structure is good shape? Is it sturdy worthy of the love you are about to bestow? Is the padding in good shape? Will you need to replace anything? This is the time where you ask yourself if you will end up spending more on fixing it than finding another gem.
Phase #2-
Accept the mission
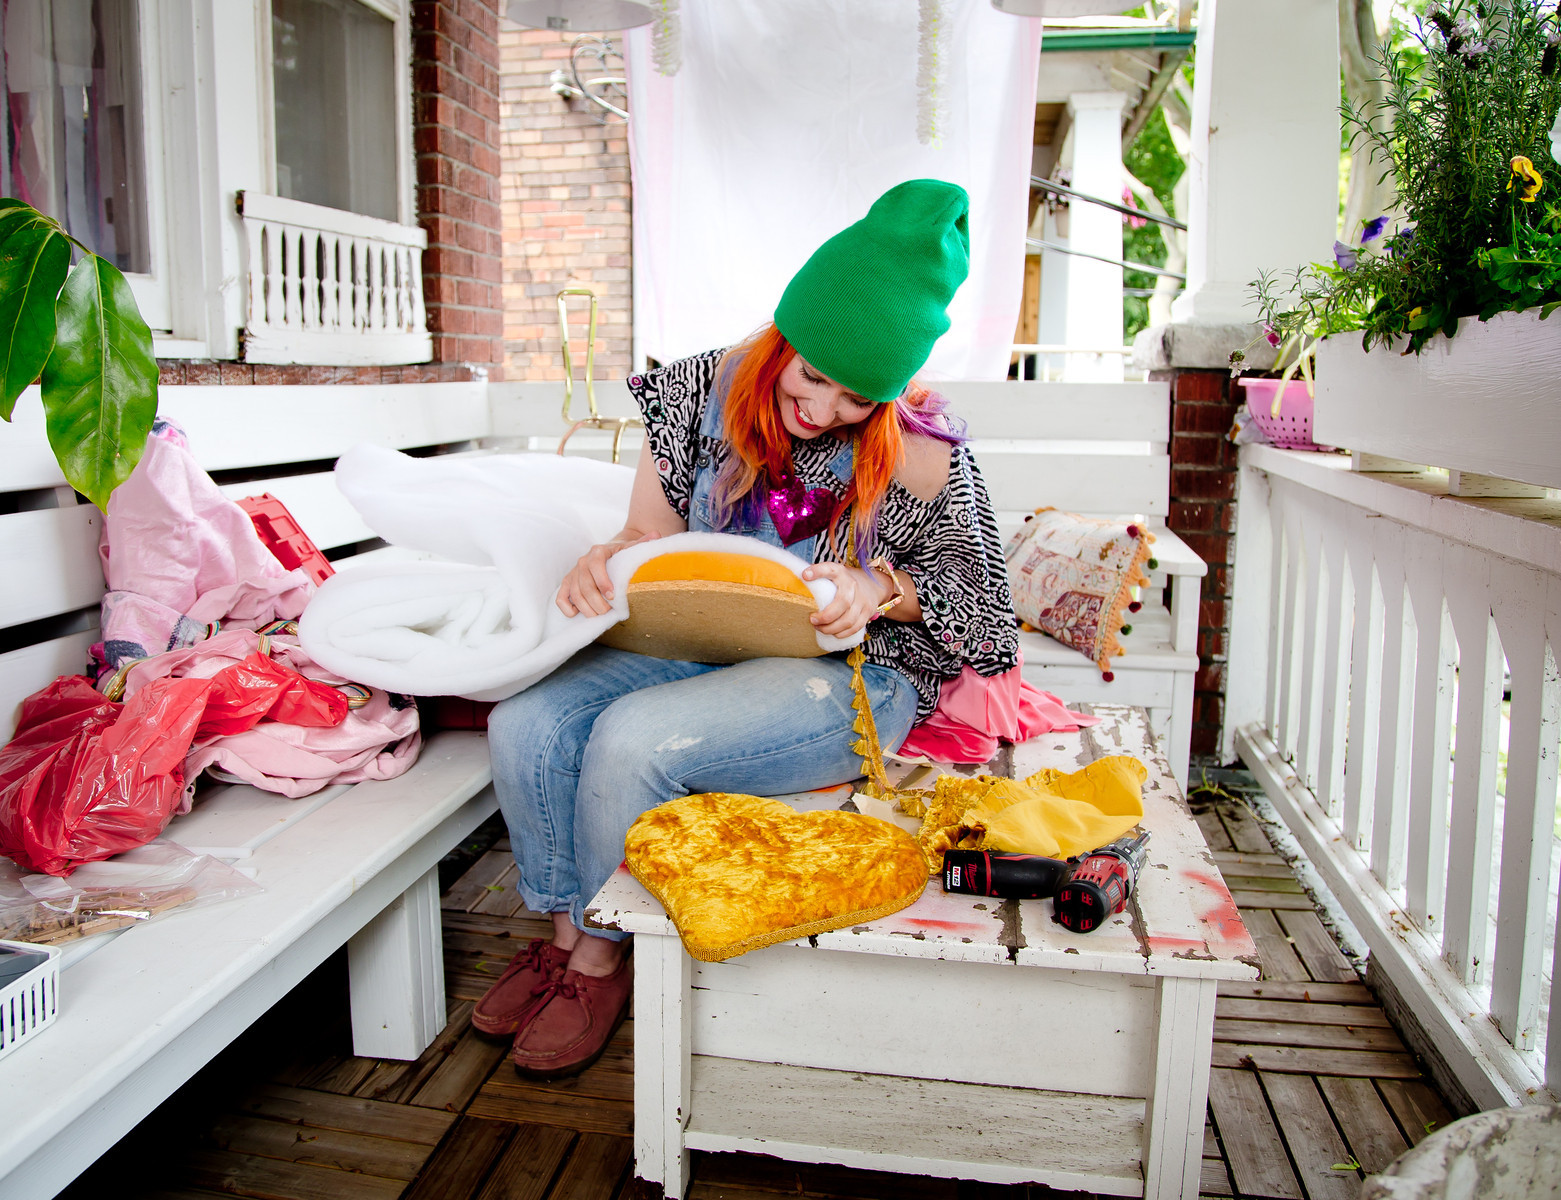
If you decided that this chair is going to change the face of your room and your life, then collect your supplies, carve the time and lets get started. Please find all of the items listed above and do not collect $500 or pass go onto phase #3 unless you have it all. Head outside or in some spacious place then rock on.
Phase #3-
Destruction and creation
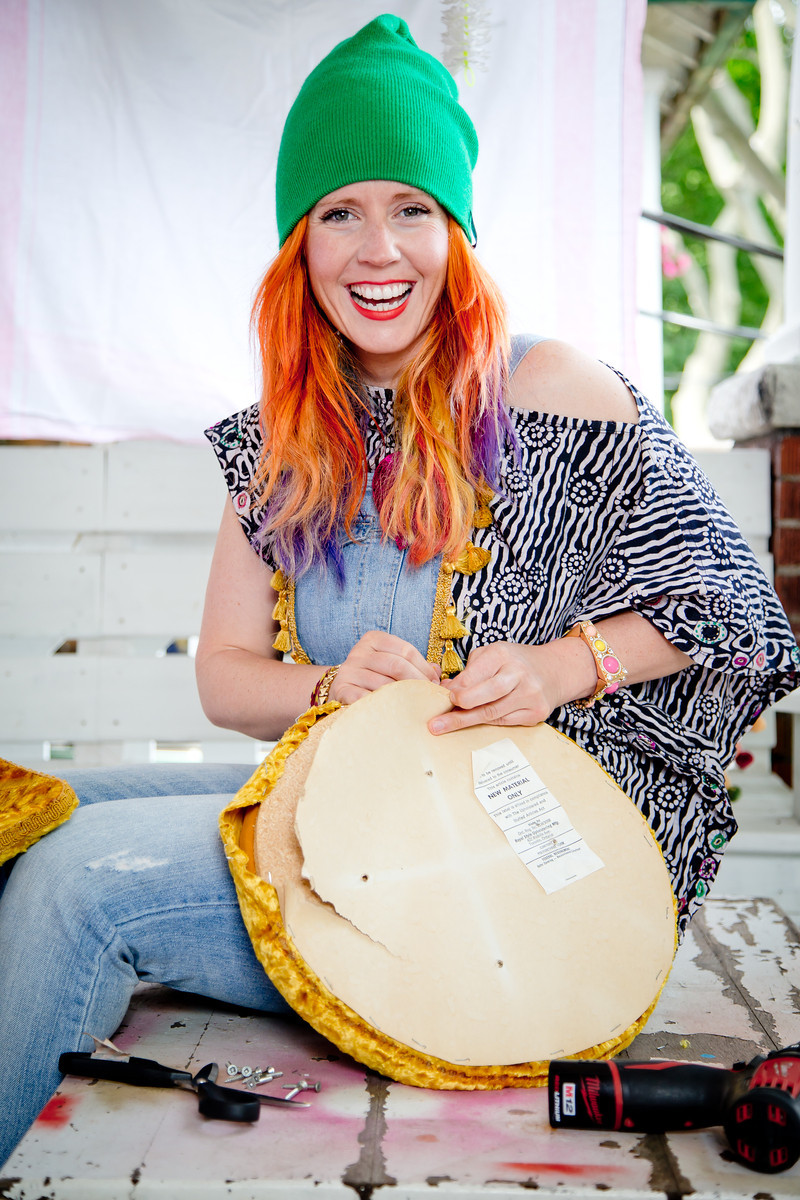
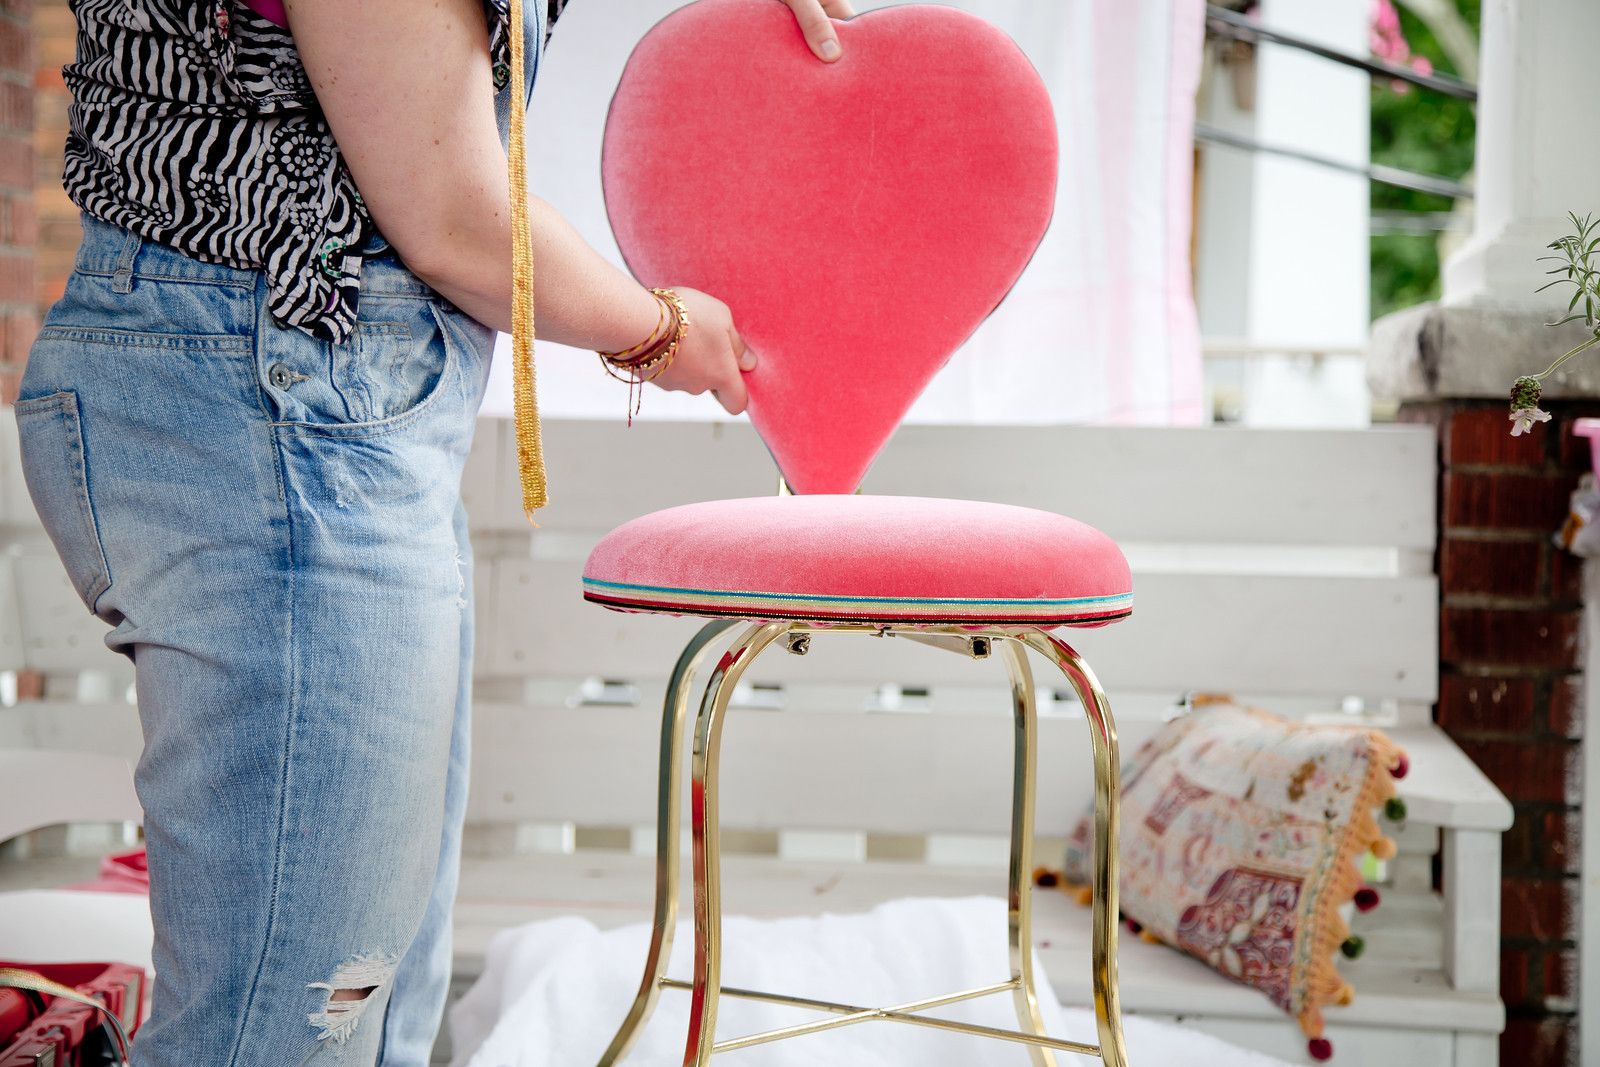
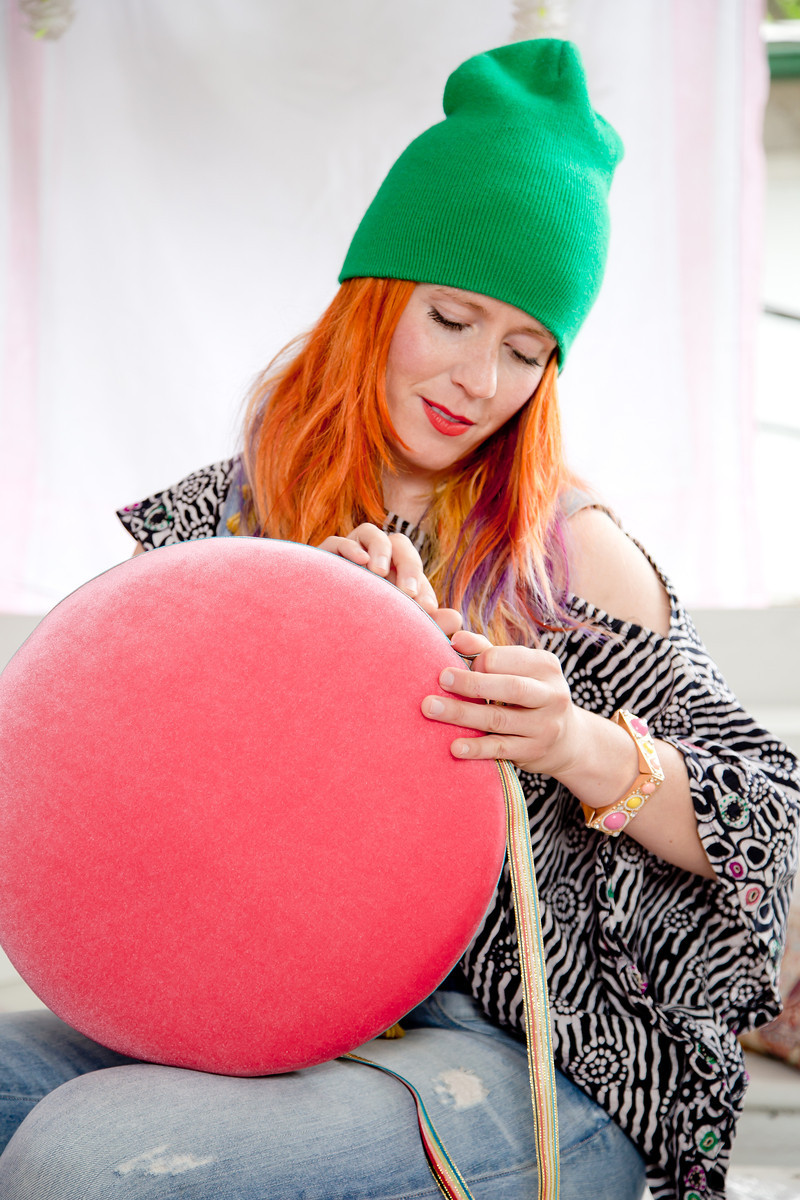
Pull your screwdriver or scissors out and tear the seat off and check out the condition of your padding. If in the raw, your padding looks ample—leave it. If not, then trace an extra layer or two of cotton padding and hot glue that puppy on top of the existing padding. Then pull out your new fabric and roughly cut out a generous amount of it to tightly wrap around your new padding. Get your staple gun and load it up and start tacking it down. Cut off the excess fabric from around the stapled edge. Trace your seat shape out on Bristol board and seal up the fabric edge.

Phase #4-
The cherry on top
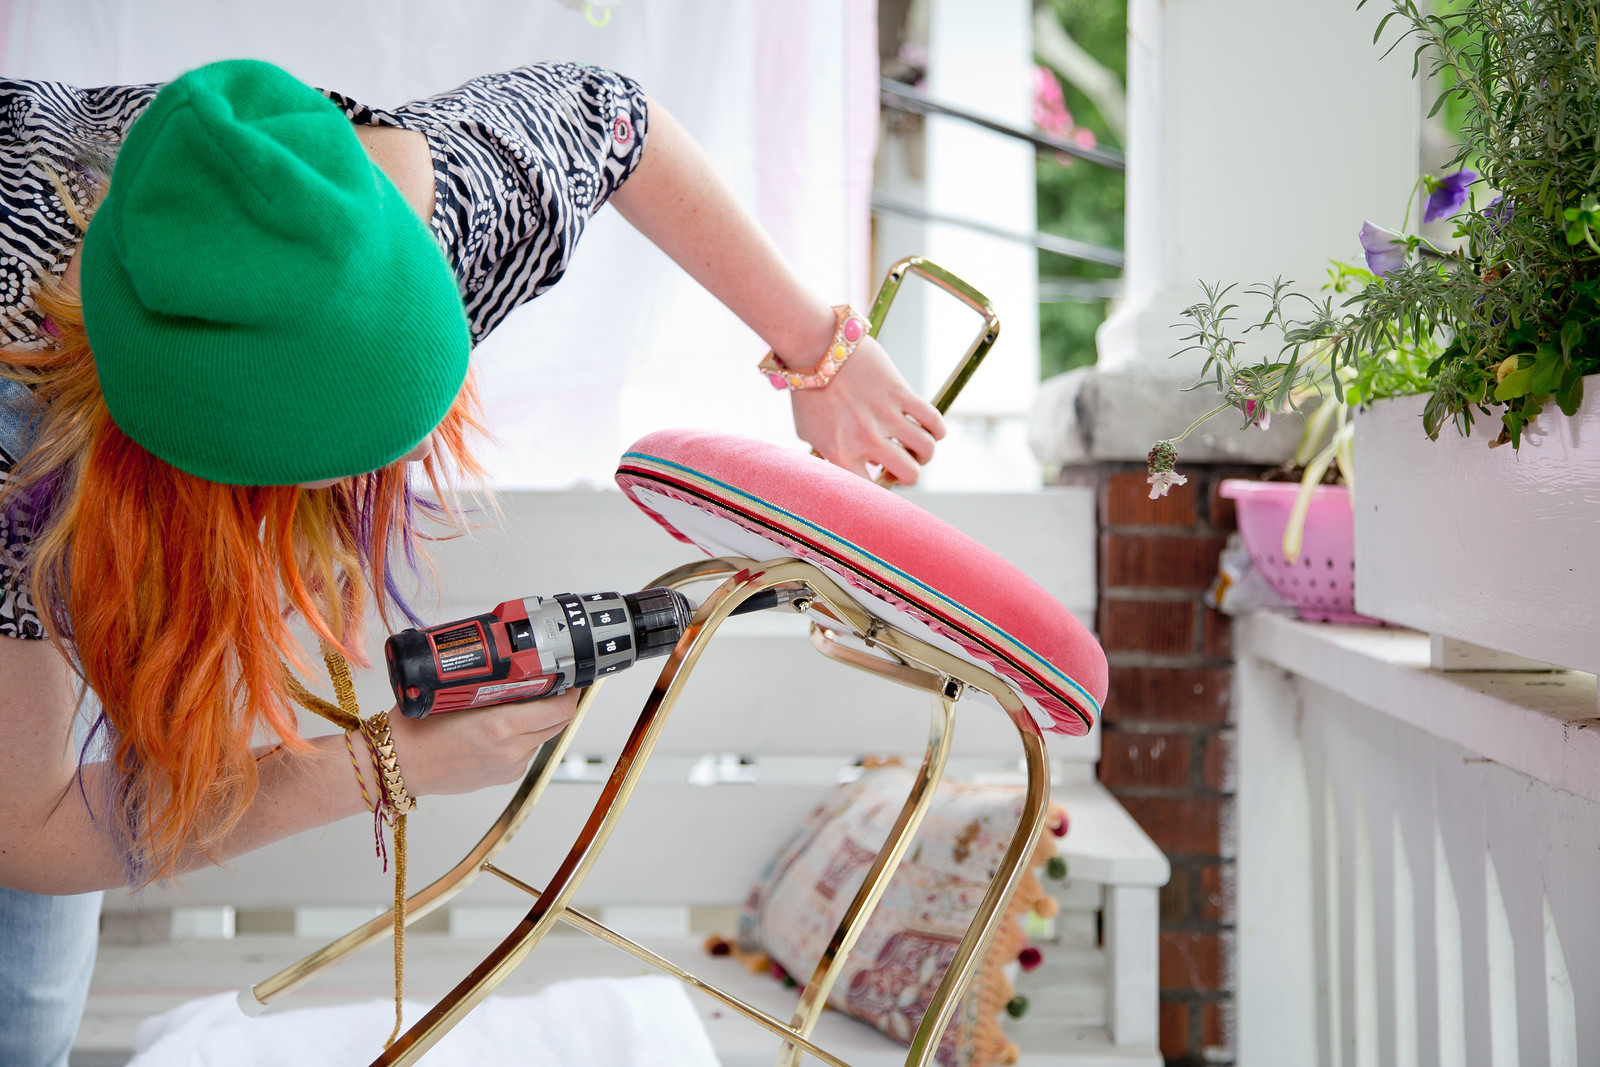
Once you have your seat recovered in the new fabric, now is the time to add any fancy new trims to it with some good old hot glue. This makes any “unprofessional” ripples or edges disappear instantly and create a fun textured finish. Once this final touch is added, it is time to get that screwdriver out and replace the seat.
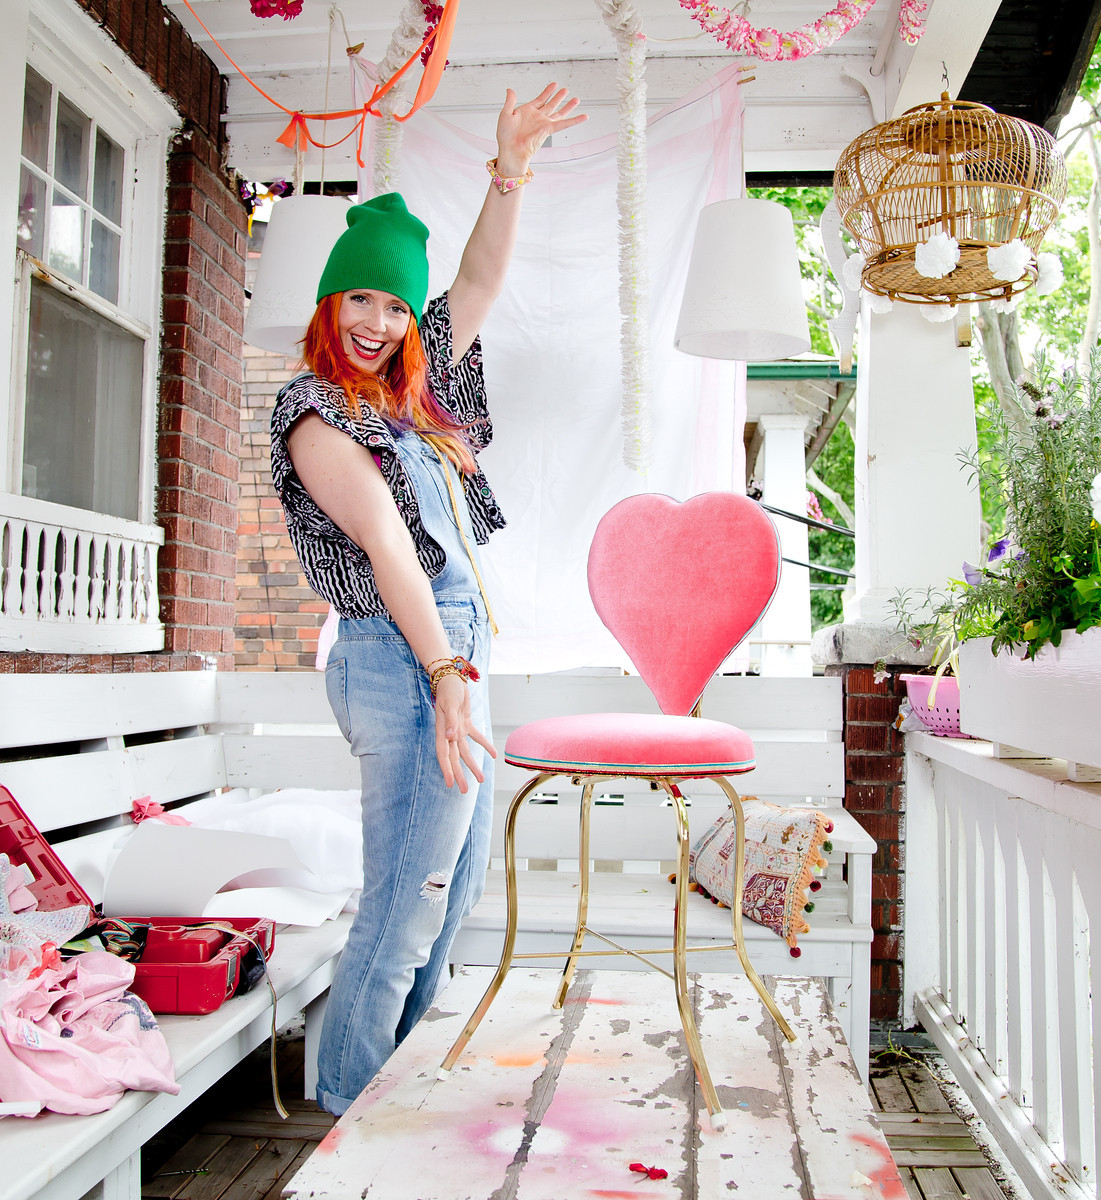
Hey! You did it! Yeah you did. You recovered your own chair and it looks really good. Really good.
Happy upholstering, upcycling and anti-upping to you! XO
All photos: Koko Tchorbadjian